Vinyl Tile Pedestal Stand
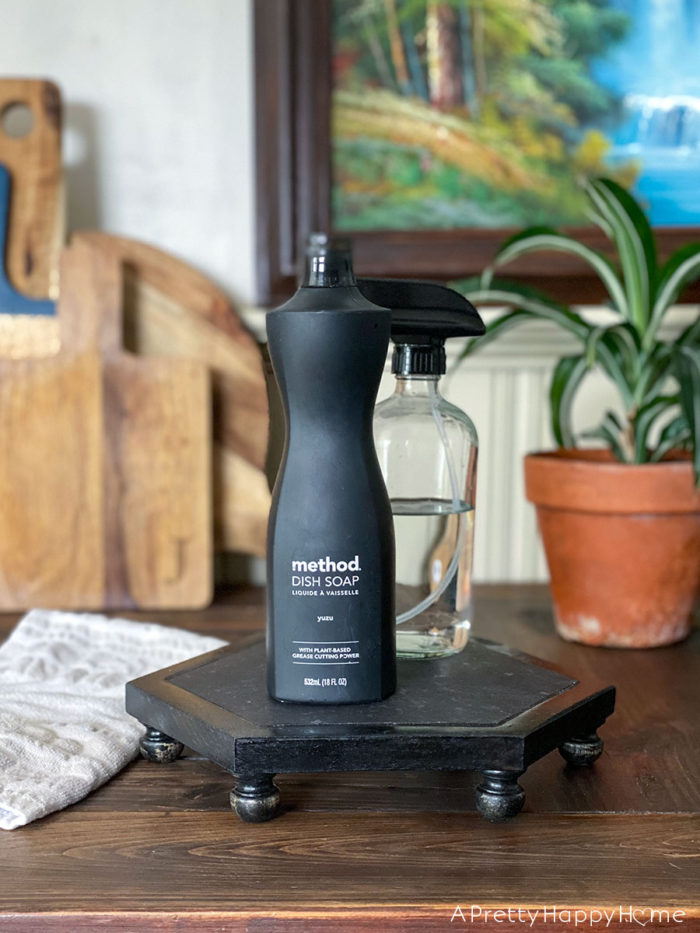
I created a vinyl tile pedestal stand from leftover vinyl flooring to go next to my kitchen sink and I’m thrilled to show it to you today!
This was such a fun way to repurpose leftover vinyl floor tiles.
I like to corral the dish soap and cleaning spray bottle on a tray next to the kitchen sink, but I do not like how soap and water inevitably drips all over that area.
I needed a tray or stand for my dish soap that would hold up well when my kids do dishes next to a wet area.
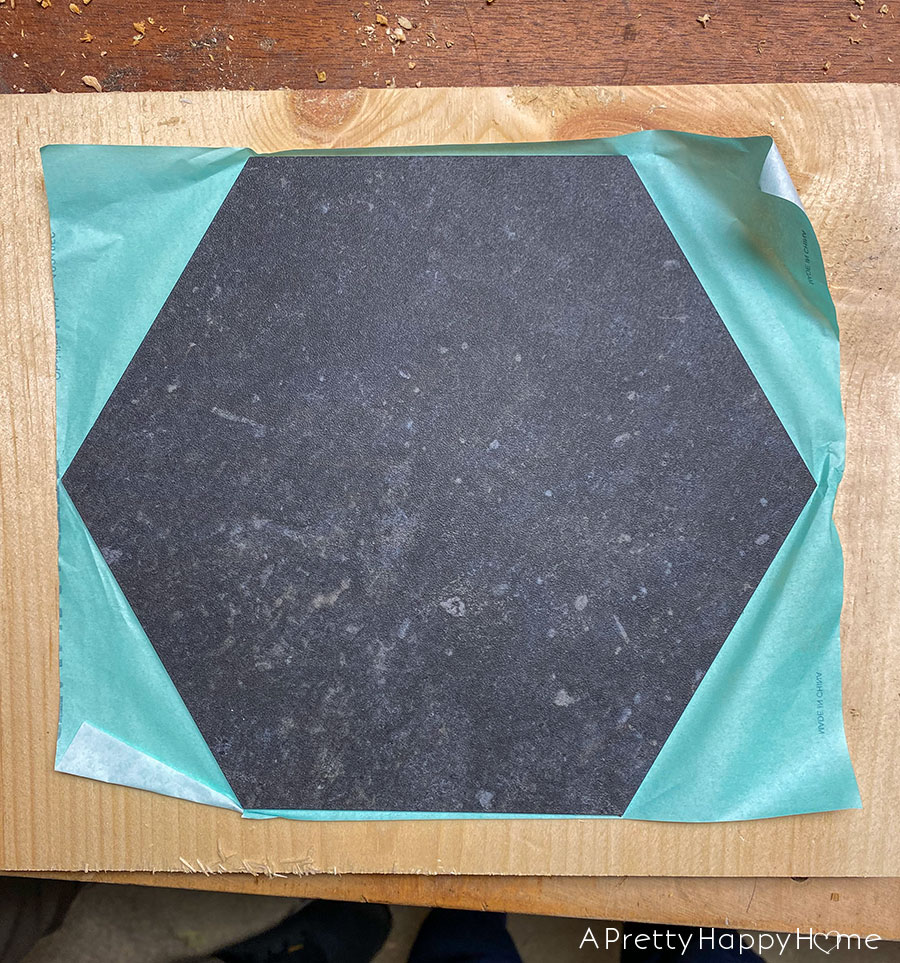
We had a handful of leftover black hexagon vinyl tiles from a flooring project. This particular vinyl tile was peel and stick flooring that can be grouted as well. It is awesome stuff.
Vinyl tile isn’t designed to survive a flood, but it can get wet. I thought it would be a fantastic starting point for a pedestal stand by our kitchen sink.
(Side note: I could have called this creation a footed stand, a riser, or a raised stand, but I went with the term Google was using most frequently.)
My vinyl tile needed a base and I chose to make that out of wood.
(I know you’re thinking wood might not be the best choice for a wet area, but I have a solution for that. Keep reading!)
To make the base for the pedestal stand, we cut a piece of 3/4-inch thick pine wood to dimensions that were approximately 1-inch larger than our hexagon-shaped vinyl tile. There might be better choices than pine, but it is what we had on hand and this was intended to be a project that used up our leftover supplies.
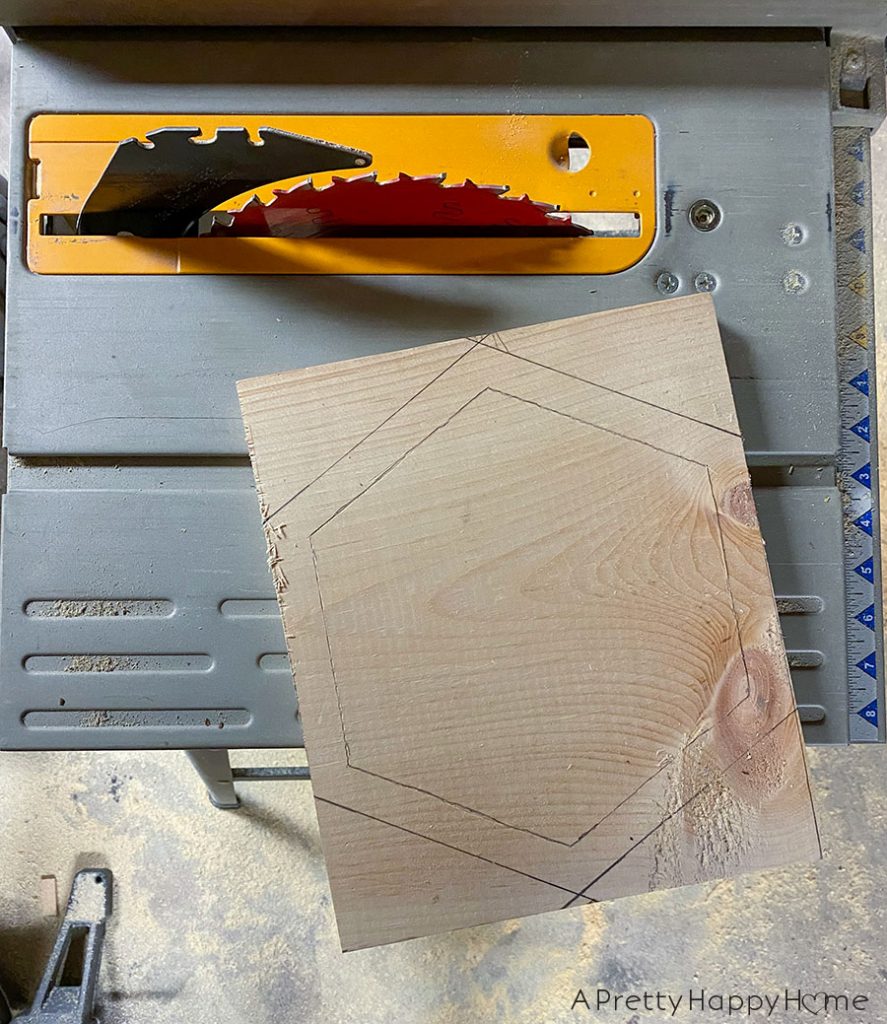
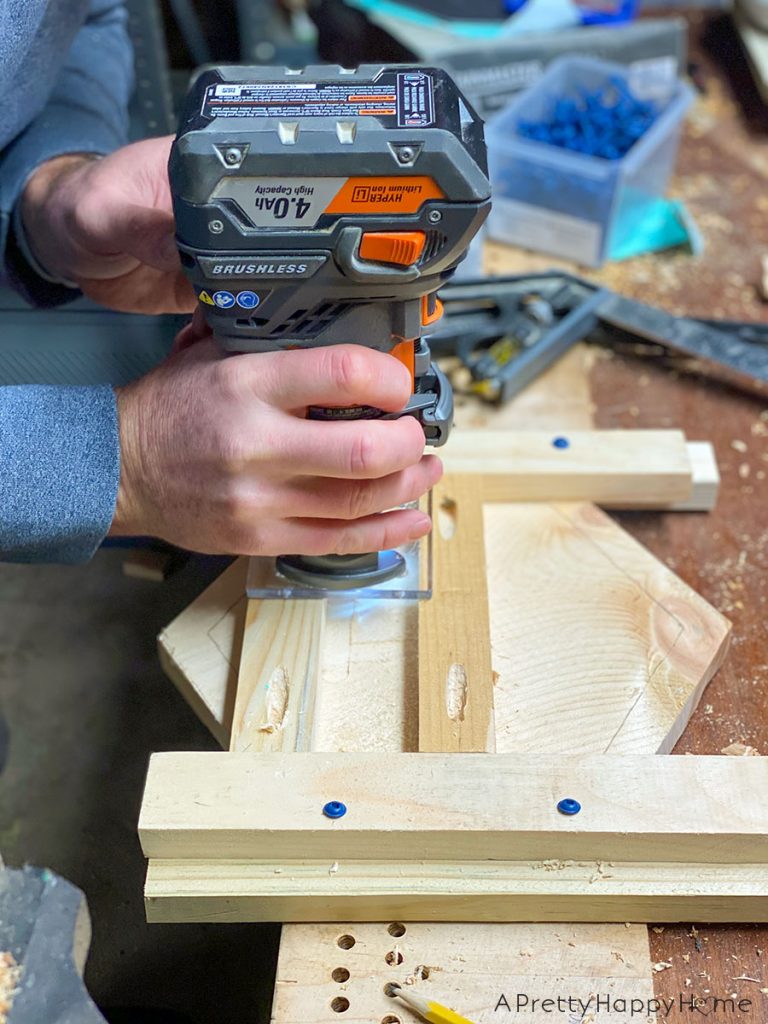
Then we used a router to create a little nest for our vinyl tile out of wood.
The goal was to inset the vinyl tile just enough so that it was flush with the wood frame that was left around the edges of the vinyl tile.
The next step was to sand the wood base smooth.
Once that was finished we inserted our vinyl tile into the recessed area.
(If your routed edges are perfect AND you are going to stain your wood base, you may want to wait to insert your vinyl tile until you are done staining.)
Because our vinyl tile had a sticky back, we just peeled off the backing and stuck it inside the inset area. If you’re using a vinyl tile that isn’t peel and stick, you could secure it with wood glue or another heavy duty adhesive.
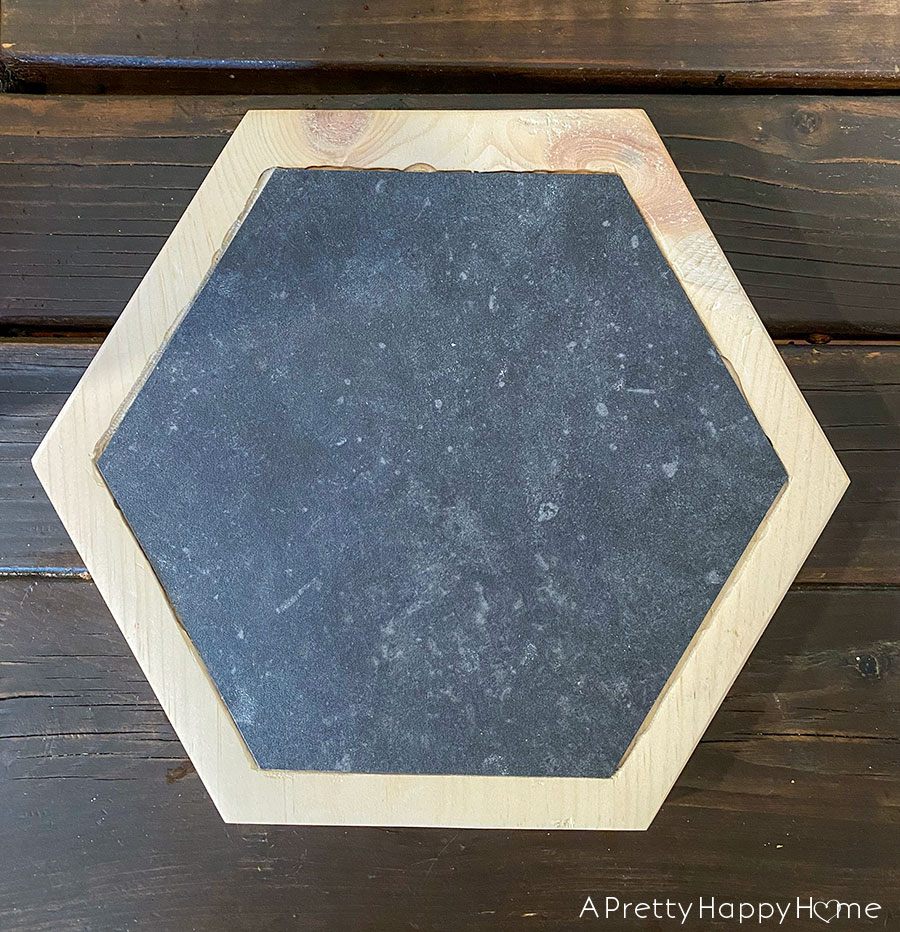
Below is how the pedestal stand looked with the vinyl tile inserted.
This was our first time trying a project using our router in this way, so our edges are not perfect, as you can see.
I needed to fix the gaps between the vinyl tile and the wood base with some wood putty. If you are going to be staining wood putty, I recommend either using a wood putty that is the color of your stain or pre-mixing the wood putty with the stain color you are going to be using. It will help the wood putty take the stain color better.
After the wood putty was dry and sanded, I was able to stain the pedestal stand base.
I did tape off the vinyl tile to help prevent the stain from getting on the tile, but stain can bleed under tape. To prevent this from happening, I applied the stain very carefully and sparingly using a makeup wedge. The straight line of the wedge helped me be more precise with the stain application.
As you can see, I started out with a walnut-colored stain, but decided I did not like that and ended up switching to a black stain. I often switch things up on the fly around here!

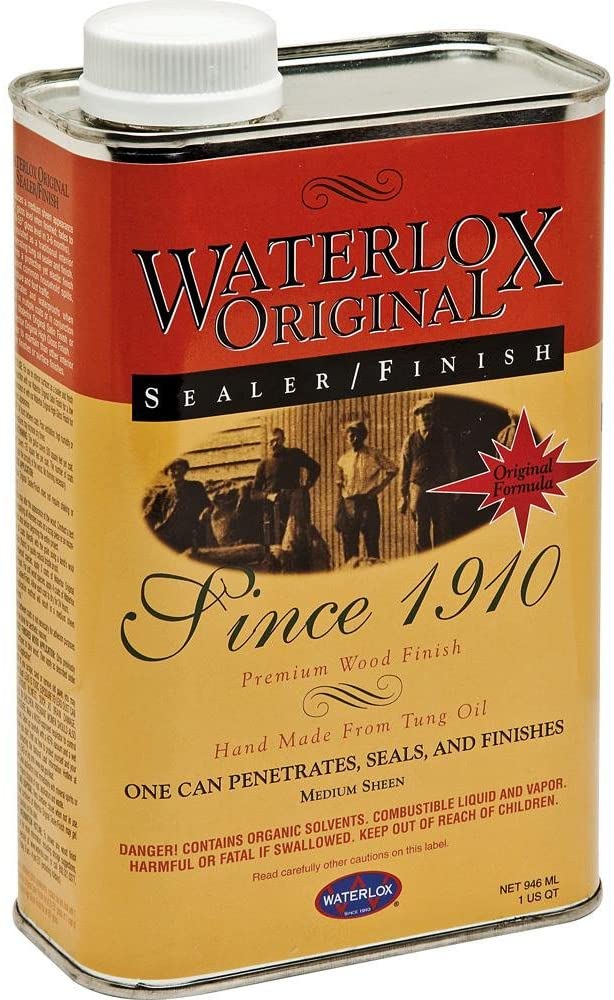
To address the problem of using a pedestal stand with a wood base in a wet area, I coated the stained wood with Waterlox.
I’ve learned from experience that water and soap can be hard on unprotected wood.
A few coats of Waterlox will penetrate and seal the wood to protect it from spills and water drops. Waterlox is not intended for cutting boards, but for other wood surfaces that you want to protect from moisture. I’ve been so impressed with how well it works on other projects, so it was my go-to for this project.
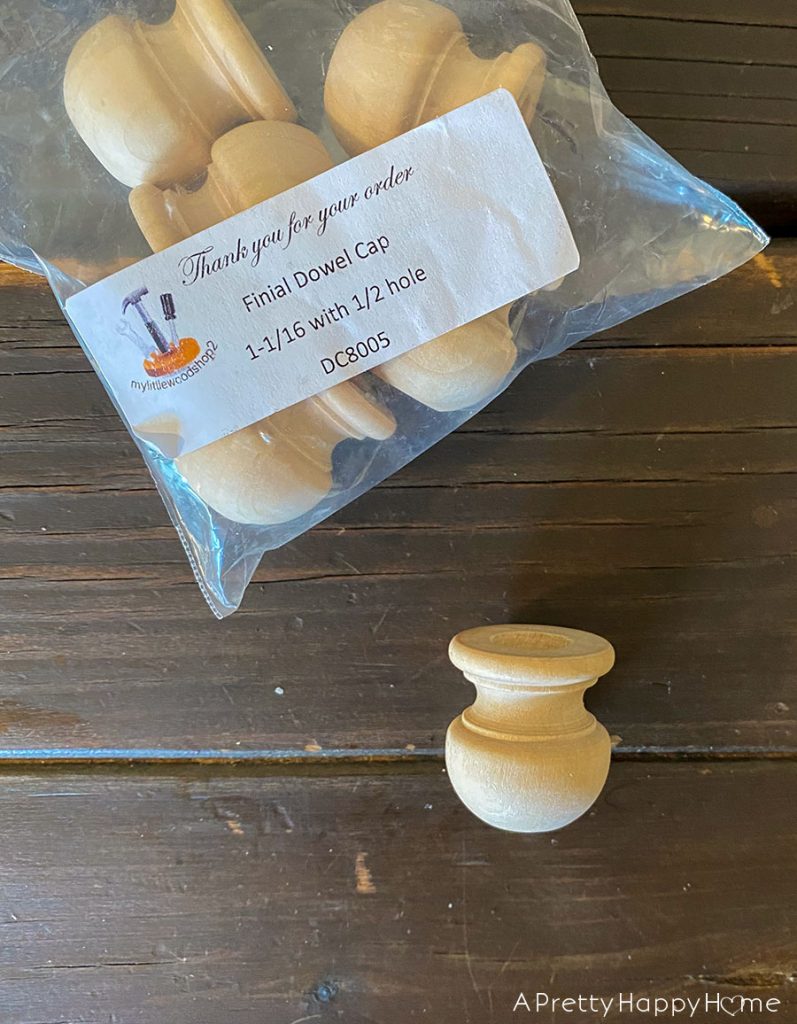
The pedestal part of the stand came in the form of six tiny feet that I glued on to the bottom of the stand with wood glue.
The feet are actually finial dowel caps. I needed six of them because my pedestal stand is a hexagon shape. If you are making a circle or a rectangle, you would adjust the number of feet accordingly. If you want to make a true pedestal with a singular raised base, you could find something larger to use as the raised base.
Keep in mind the total desired height when ordering feet for your pedestal stand. That’s why I got creative and ordered finial dowel caps that could function as legs instead of actual furniture feet or legs.
With the depth of my tray and the addition of the feet, my vinyl tile pedestal stand is roughly 2 inches tall.
The finial dowel caps are stained the same color as the tray base and also protected with Waterlox.
Here’s how my finished vinyl tile pedestal stand looks!
I’ve been using this pedestal stand for over a month now and it is the unsung hero of the kitchen.

However, if I had to do this DIY vinyl tile pedestal stand over I wouldn’t inset the vinyl tile.
I would cut the wood base the exact same size as vinyl tile.
That would make this project infinitely easier and maybe a little more modern looking too.
The only downside is that the pedestal stand would be smaller. So, tradeoffs.

As happy as I am about how this vinyl tile pedestal stand turned out, I share with you how I might do a project like this one differently because most of our projects are one and done.
We aren’t refining them like we might do if we were planning on selling a product. We make stuff to use in our Colonial Farmhouse, figuring it out as we go, and then we move on to the next project. While we reflect on our projects and how we could improve, we don’t always get a chance to do so.
I’m throwing that out there so you’ll know that I’m coming at you with ideas rather than expertise!
If you make a vinyl tile pedestal stand or repurpose vinyl tiles in other ways, please let me know. I’d love to be inspired by your creations.
P.S. I took the photos of this vinyl tile pedestal stand on the counter opposite the kitchen sink because our sink is under a window. All the photos were getting blown out by the light and I didn’t have the patience to become a better photographer for the purposes of getting this blog post done. I’m adding it to the list of skills to work on!
Products Used to Make a Vinyl Tile Pedestal Stand
Viny Tile: 7 3/4 in x 9 in, Groutable Obsidian Peel and Stick from Lowe’s (99 cents each when we purchased!)
Stand Feet: 1 1/6 inch Finial Dowel Cap from Amazon
Waterlox: Protects wood from moisture. Mine came from Amazon, but you can get it other places.
Wood Glue: to attach feet
Stain: Classic Black Stain by Varathane
Pine: 3/4-inch pine
Thanks for checking out this tutorial! I hope it inspires an idea or two. Here are some other posts you might enjoy.
How to Remove a Dog Door from a Wood Door
Turn a Side Table Into a Pedestal Tray
Mercantile Inspired Over-Size Storage Box
*affiliate links in this post*


You May Also Like

5 Kitchen Organization Strategies I Use Wherever We Move

Our Deck Is Ready For Summer
