

Progress feels good, and we have made significant progress on building Section One of our curved fieldstone wall.
If you missed Part 1 and Part 2 of this series, those are a rockin’ good time.
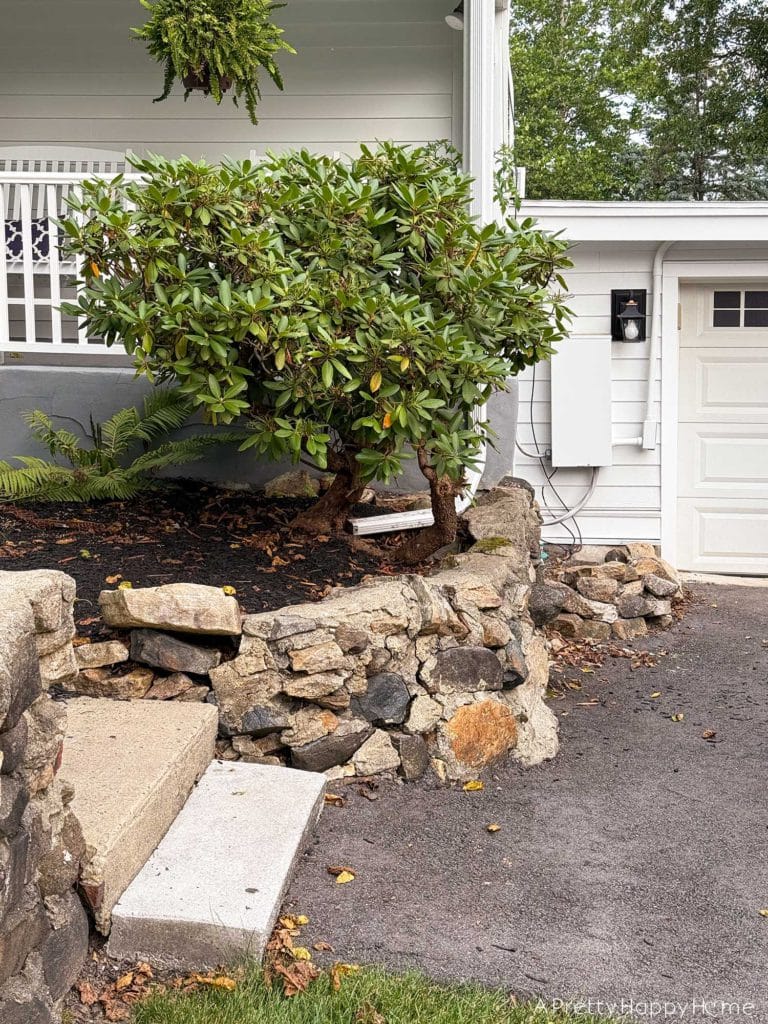
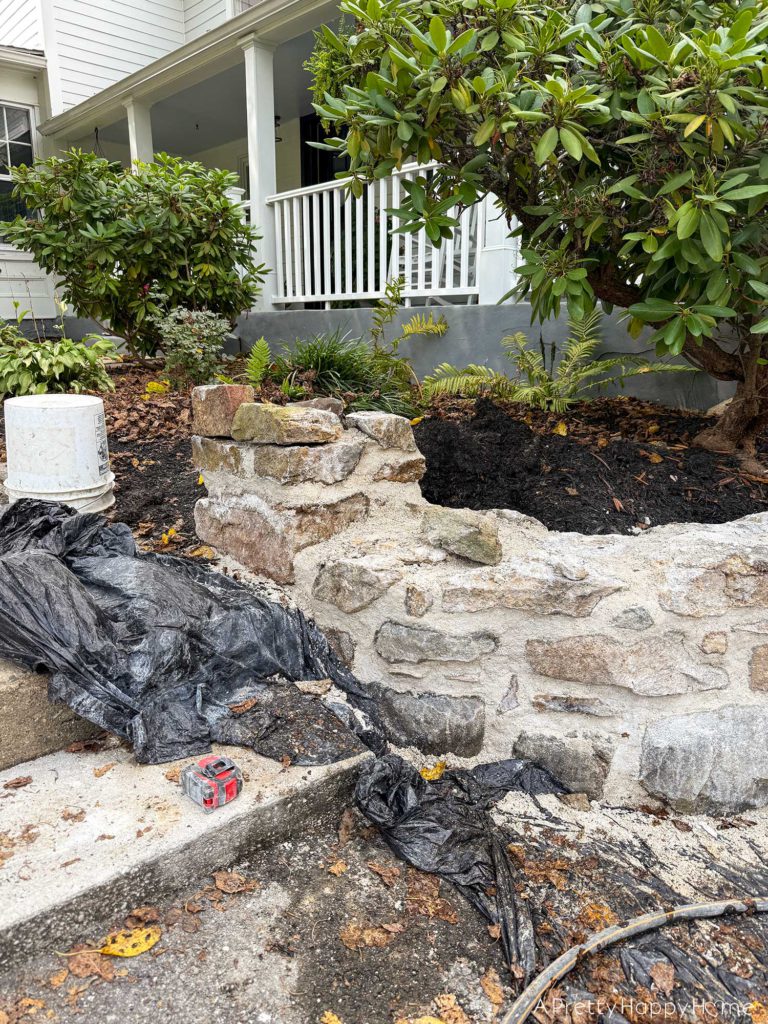
Here’s the section of wall that we are rebuilding.
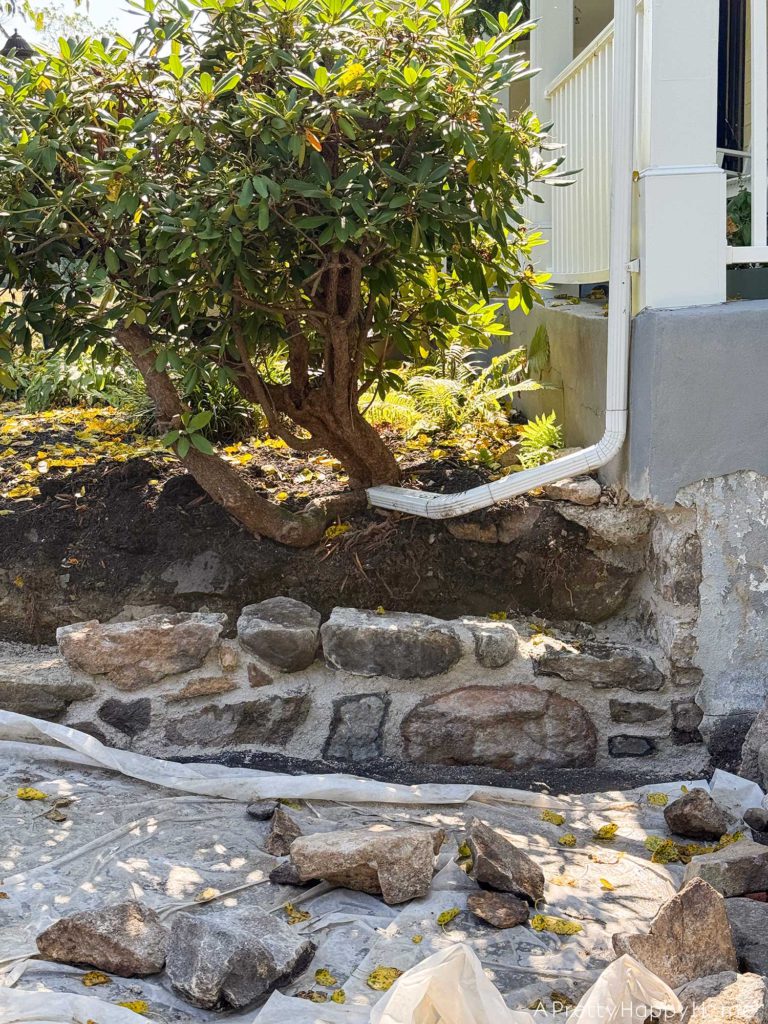
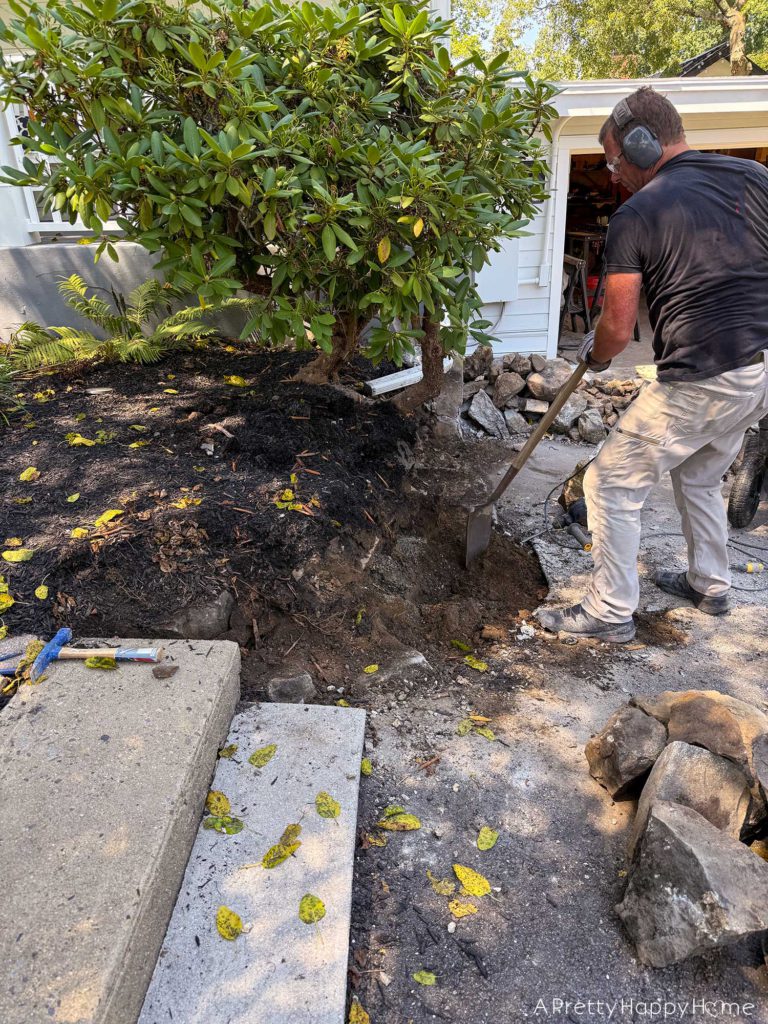
With all of the rocks out, that area looked kind of weird.
Scratch that. There was no “kind of.” It looked flat out weird.
Best we get to remedying that.
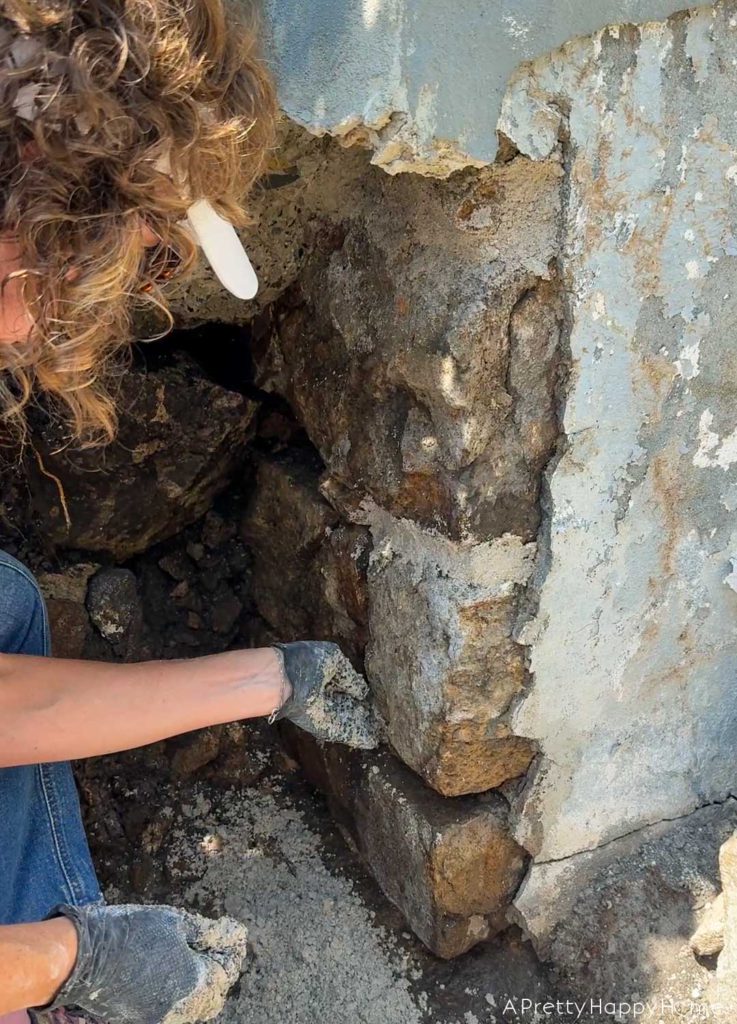
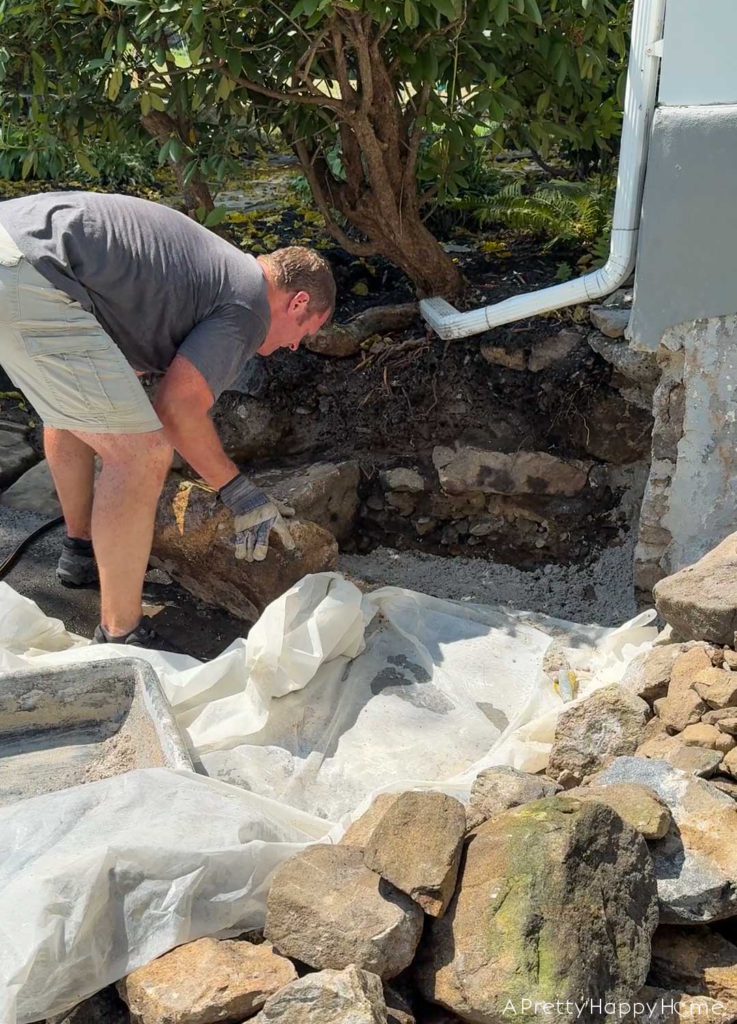
I started by repointing a section of the front porch foundation that we exposed during the wall demolition.
Not only does this foundation need repointing with lime mortar, but this way I’ll be able to secure or tie-in the new fieldstone wall to the foundation.
It will make the wall stronger to build it this way.

Next, Handy Husband helped me place some gigantic rocks at the base of the new curved fieldstone wall.
We are reusing the rocks from the old wall for the new wall, and we didn’t realize how big some of these rocks were until we had to manhandle them.
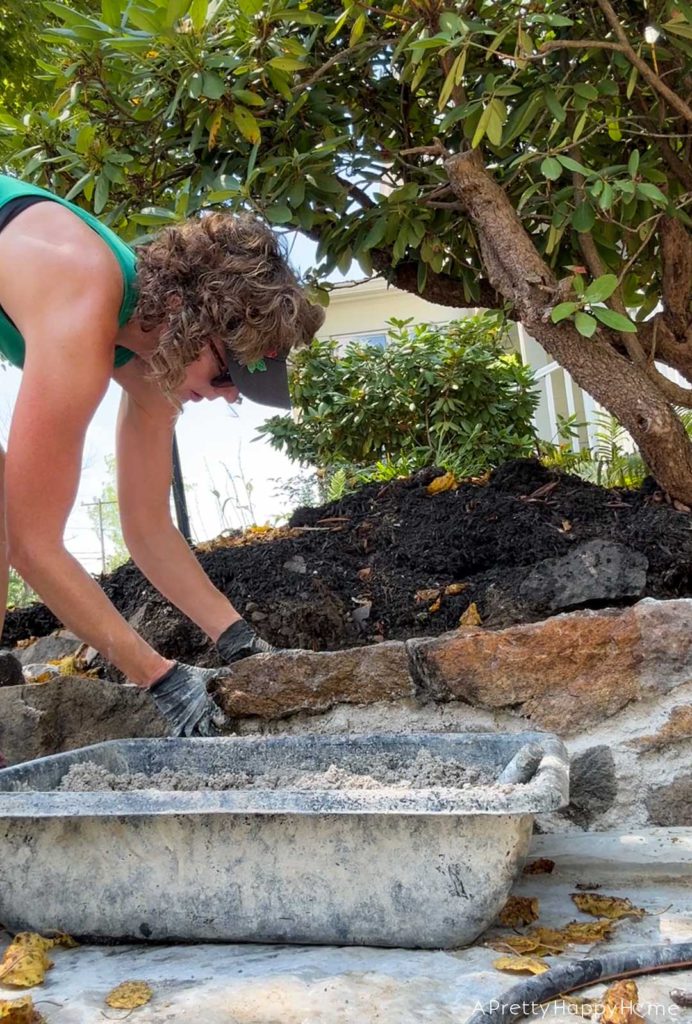
We’re building this wall on top of existing rock, so I laid down a bed of lime mortar (NHL5) for the new rocks to nestle into. This will secure the new wall to what is underneath it.
From there, I followed the path of the asphalt driveway to give us our curved shape.
It’s clear that the wall was here first and the asphalt was added later.
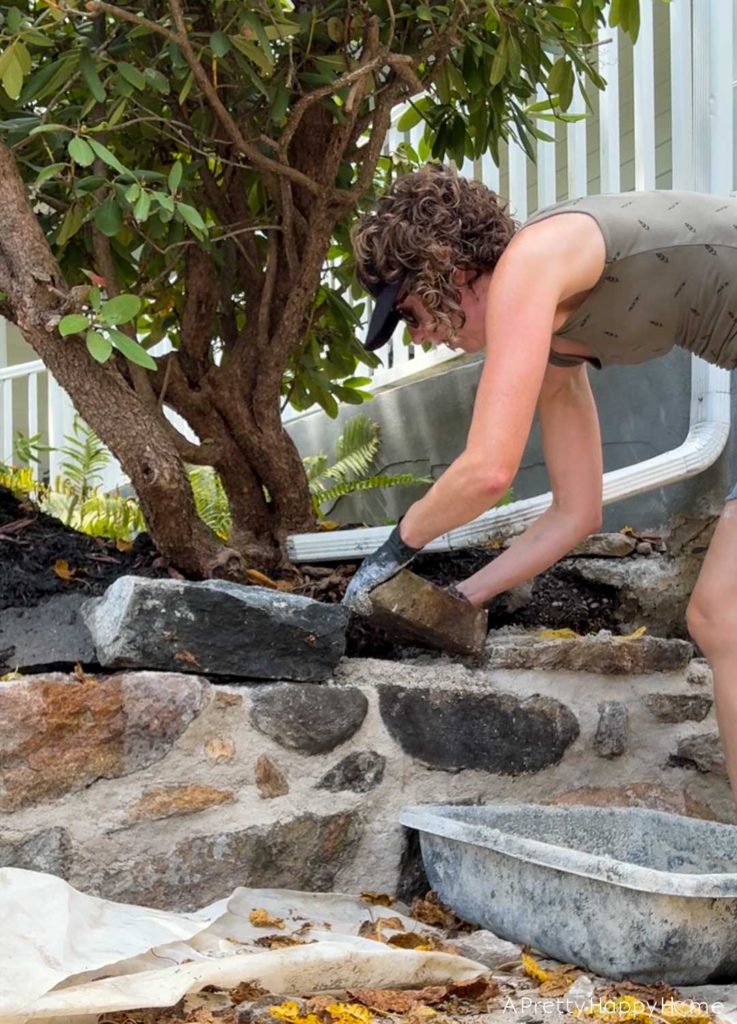
We want to keep the curve to the fieldstone wall for a few reasons. First, it looks great. Second, we don’t want to have to do a huge amount of patching to the asphalt when this project is complete. Third, while the wall will look new for a time because it is, we want it to mainly look like the old wall. The stone walls on this property have probably been here since the house was built, so they are an important visual landmark.
The goal is to build them back better so that they beautifully frame the entrance to our home and last another hundred plus years.

In the interest of transparency, it is important to confess that I haven’t used any guides to keep this wall straight or level.
I’m eyeballing it.
Don’t be like me. This could end up being the Leaning Wall of Annisa’s Front Yard.
That said, I do have a few constraints that act as basic guides – the driveway, the flowerbed, and the porch.
The biggest thing working in my favor though is that anything I build is going to be better than the crumbling wall that was here.
There’s something freeing in knowing I can’t possibly make it worse.
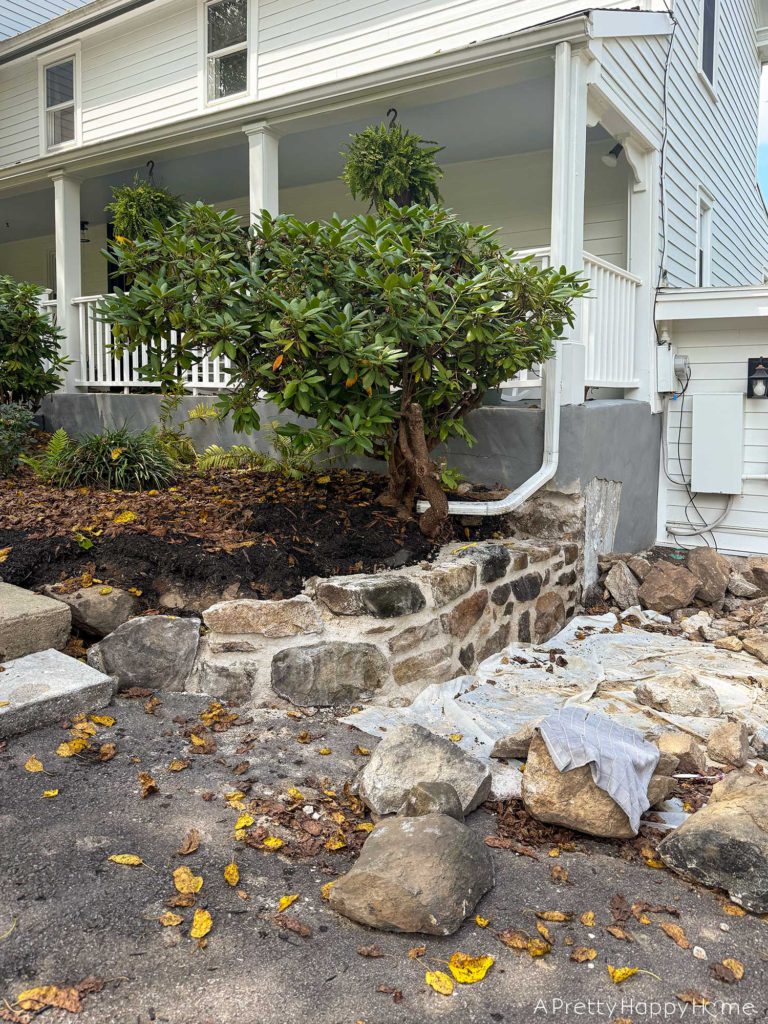
The only thing left to do is build a column and figure out how to swoop the wall up to the column.
I’ve never built a swoop.
How hard could it be? Hahahahaha!
I’ve also never built a wall, and I’m figuring that out one rock at a time. I suppose the swoop will be the same way. If I think about it, I’m sure there will be some life lessons to learn from this experience.
Operative word in that last sentence was if.
The next installment in this series will be the reveal of Section 1. I hope you’ll come back to see how that turns out, and our plans for the next wall section. Section 2 is bigger and curvier!
If you have any questions about the process thus far, let me know! You can ask away by leaving a comment on this blog post, emailing me here, or reaching out via direct message on Instagram or Facebook. You can also follow along on stories to see all the nitty gritty details as the happen!
Happy DIYing.
P.S We are using NHL5 lime for this project in a 1:3 ratio with all purpose sand. We buy our lime from Limeworks.us in Pennsylvania. That’s not an affiliated link. They don’t know anything about our projects or that I’m mentioning them here.
Thanks for hanging out with me today! Here are some other blog posts you might enjoy!
DIY Rustic Towel Bar From An Antique Harness