
Kitchen Mini Makeover Progress
If you’ve been waiting with bated breath for some sort of progress since I shared the before photos of our Colonial Farmhouse kitchen, well, today is your day.
I told you that we weren’t doing a major renovation on our kitchen, but I did want to make it easier on the eyes.
However, I needed to do a mini makeover on the cheap. Elbow grease and paint kind of cheap.
I was also going to take my time with this project because this is not HGTV. This is real-life and, frankly, I’m not the Energizer Bunny. Shocking, I know.
Here’s the timeline of my kitchen mini makeover progress.
KITCHEN MINI MAKEOVER PROGRESS TIMELINE: AUGUST
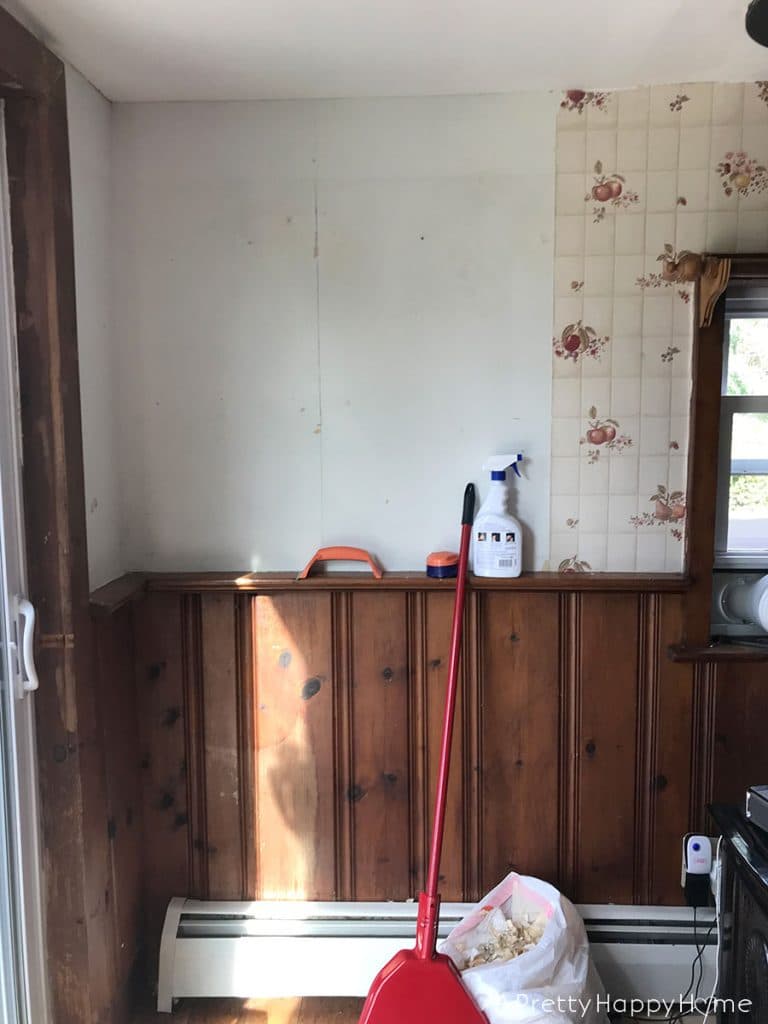
The most obvious place to start with this mini makeover was with the kitchen wallpaper. It was also the most annoying place to start.
Wallpaper removal is on my Top 10 List of Least Favorite Activities and I know this from experience. There are some things you learn to enjoy given enough time – like eating your vegetables. Removing wallpaper is not one of those things.
I consoled myself with the knowledge that only half of the walls were wallpapered since the bottom half was covered in wainscoting.
Removing the apple and pear wallpaper was an immediate improvement in the space.
The kitchen suddenly felt lighter and brighter.
I suddenly stopped having cravings for pie, so I actually became lighter.
Talk about a hidden benefit!
The drywall behind the wallpaper wasn’t in terrible shape. I did discover there is no seam or drywall tape between the ceiling and the wall. I ended up caulking the line between the wall and the ceiling since there was no way I was going through the trouble of properly fixing that issue.
The reason why I’m not too concerned with proper drywall repairs right now is that we aren’t sure if we’re keeping this ceiling in the long run. It’s only 7(ish)-feet tall, which makes the space seem even smaller. The reason the ceiling is so short is that when this single-story addition was added they were trying to avoid having the roofline mess with the second story windows.
In case I gave you the impression a unicorn perfect walls were hiding behind that wallpaper, I apologize. Removing wallpaper is only half the fun. When the wallpaper is down you have to clean the walls, patch any holes, and then paint.
If you haven’t tried it yet, you’re missing out!
KITCHEN MINI MAKEOVER PROGRESS TIMELINE: SEPTEMBER
The next step was to paint the wood wainscoting.
That might seem scandalous to some of you, but not to me. This wasn’t precious wainscoting from the 1800s. It was a newer design feature (that’s a relative term in a house this old) and one that probably won’t stay when we do a renovation.
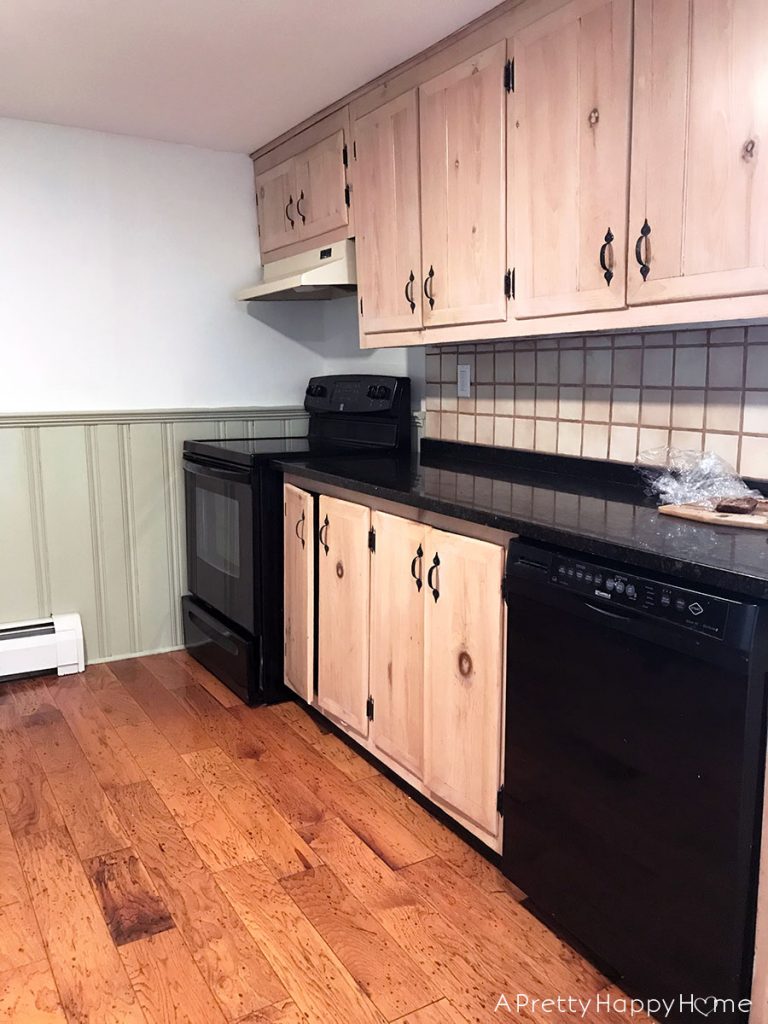
I ended up painting the wainscoting a taupe-y color. Unfortunately, as you can see from the below photo, the color looked green in certain light. This ‘certain light’ coincided with almost every time I was in the kitchen and it started to drive me bonkers.
I loved the color itself, just not paired with everything else in this room. Working up the energy to repaint the wainscoting a different shade was probably going to take me some time.
In September, we also took down the fluorescent lighting in the kitchen. One of the lights had started to fall out of the ceiling because it really wasn’t anchored to anything. We replaced it with a LED light that mimics a can or recessed light without having to go through the trouble of installing a can light. I wrote about that ceiling issue in this post.
KITCHEN MINI MAKEOVER PROGRESS TIMELINE: OCTOBER
The weather started to turn colder in October. We closed the pool up and were no longer eating outside on our deck.
That’s when I had the brilliant idea to bring our wood outdoor dining table inside for the winter. Handy Husband built this table and he doesn’t do things halfway. Between you and me, that table is over-engineered and super heavy.
I didn’t want to haul that table down the deck stairs and across the lawn to store it in the barn when I could simply move it ten steps inside the house. My motivations are complex, but often involve me not wanting to lift heavy things.
I thought we could put the table next to our fridge, which is just free-floating on one wall of our kitchen. It would not improve our ugly fridge situation, but the table would give us an additional work surface. Plus, it would help us envision what it would be like to have cabinets on that side of the kitchen.
As it turns out, cabinets (or the illusion thereof) are 100% a good idea.
It has been so handy to have this extra work area in our kitchen. Now our only problem is what to do when we need to move that table back outside. The domino effect of home improvement decision making is a real thing.
KITCHEN MINI MAKEOVER PROGRESS TIMELINE: NOVEMBER
November was the month when I really wished we had different appliances.
The appliances seem to work fine, but in November the stove did magically switch from Fahrenheit to Celsius and now the clock doesn’t work. But it seems to eventually boil a pot of water. Strong emphasis on the word eventually.
I spent a fair amount of time listening to the reasonable angel on my shoulder. (She can be a killjoy.) She reminded me that getting new appliances is putting the cart before the horse. We need to change the kitchen layout and how the stove vents. New appliances should only be purchased as a last resort right now.
The good news is that the stove magically switched back to Fahrenheit in January, so no more temperatures conversions in my head or excuses on why I over-cooked something.
Wait. Is that really a good thing?
KITCHEN MINI MAKEOVER PROGRESS TIMELINE: DECEMBER
Things really ramped up with the kitchen mini makeover progress in December.
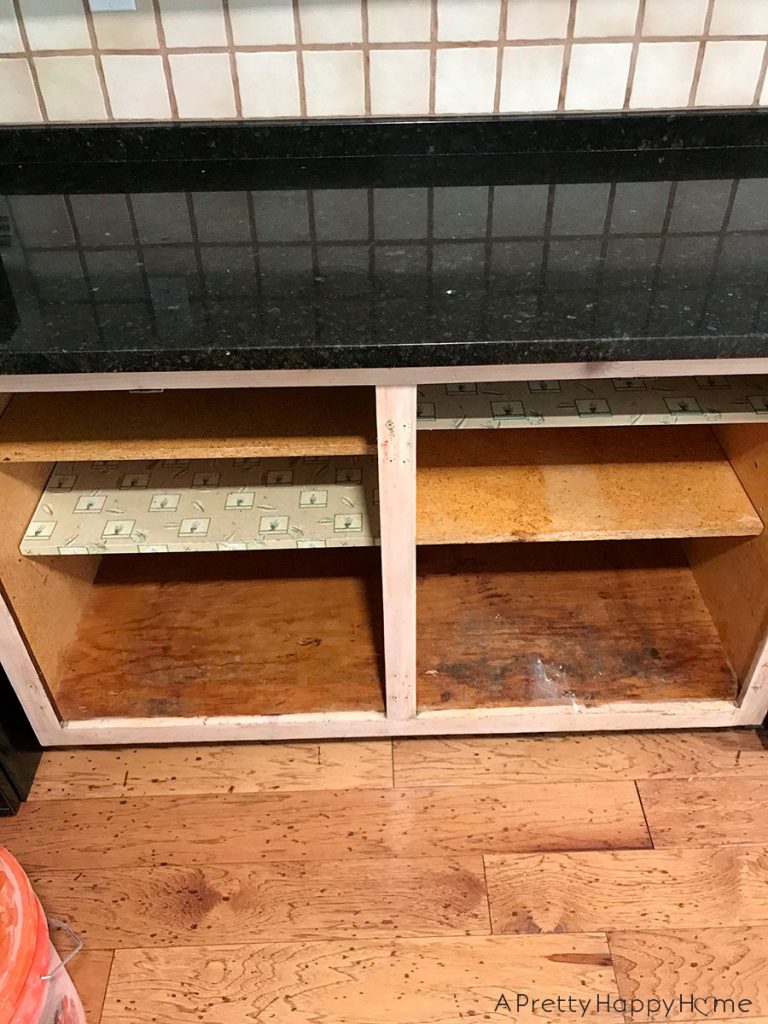
December is a busy month and that’s why I thought I would heap even more items on my to-do list like sanding down the cabinet doors.
Where was the reasonable angel on my shoulder then, huh?
While I was working on the cabinet doors and dealing with that grossness inside the cabinets, Handy Husband built me a cover to hide the ugly fan above the stove.
I also revamped the grout on the kitchen backsplash in an effort to try and save it. I would really love a new tile backsplash, but my fear of what’s behind that tile is even stronger than my desire for new tile.
A new backsplash is a domino I’m not ready to knock over yet.
KITCHEN MINI MAKEOVER PROGRESS TIMELINE: JANUARY
January is a fresh start! That’s why I finally had the energy to repaint the wainscoting. Kidding. I just couldn’t put it off any longer.
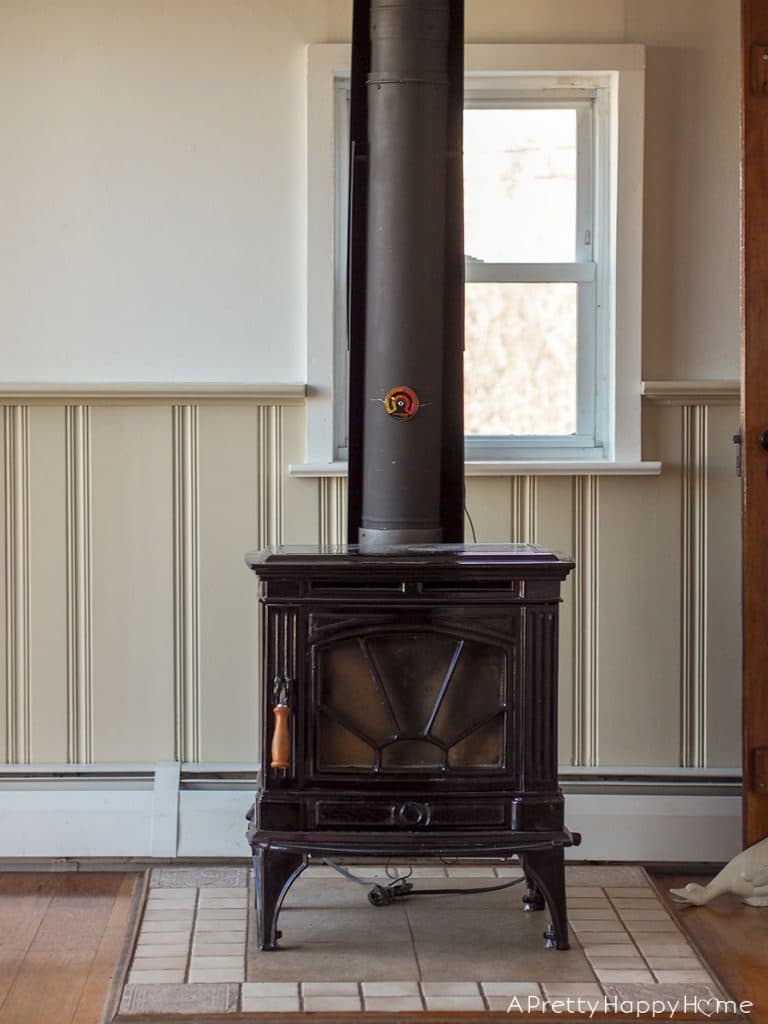
The paint shade difference was so subtle that Handy Husband couldn’t even tell I repainted the wainscoting. I ended up matching it to one of the tiles under the wood stove, since those tan colored tiles were what was really throwing off the color difference.
Now you know that I do these things for me and not for someone else.
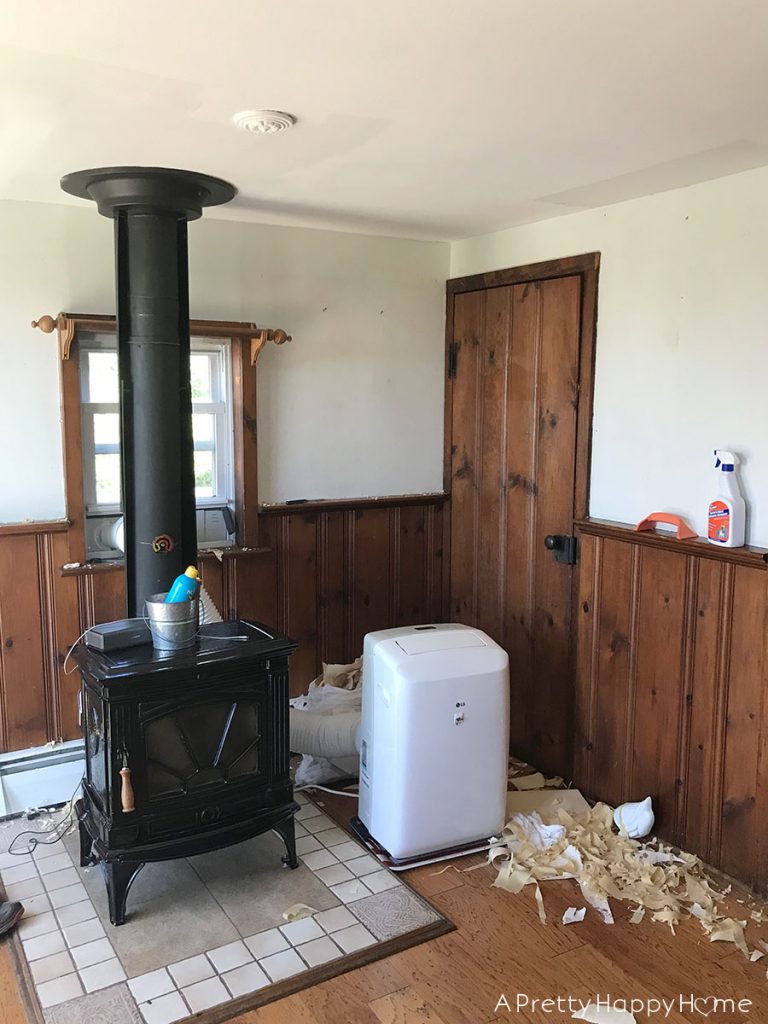
As an aside, we have plans to remove that wood stove.
The stove is sitting smack dab where a table should or could be in this space. We also almost burnt the house down trying to use it over Christmas. Everything is fine, but I think it’s safe to say Santa would be wise to avoid that chimney.
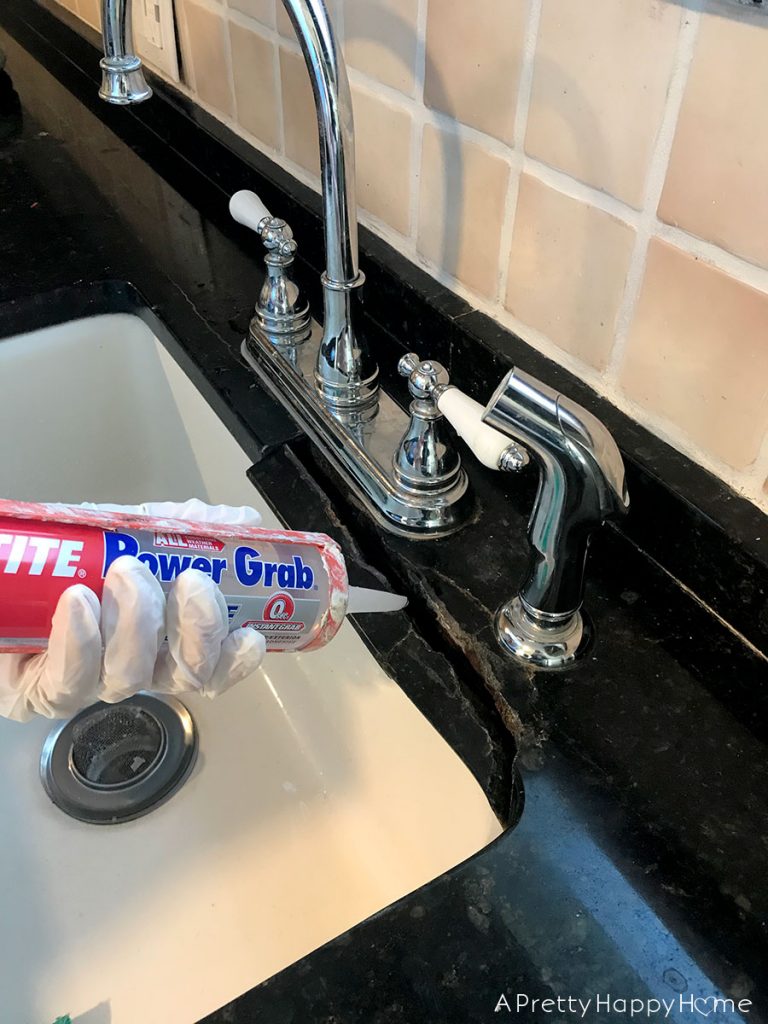
January was also the month when our granite counter broke. We knew the counter had a crack in it by the faucet when we bought the home. It wasn’t leaking under the sink, so I shoved some black grout in the crack to keep water out of it and it was fine for six months. In January the crack suddenly split apart like the Grand Canyon.
So, I did what any reasonable homeowner would do in this situation. I glued it back together with heavy duty adhesive. That’s reasonable, right?
So far it is holding together and I’m crossing my fingers it will last as long as we need it to. I do not want to have to get a new counter. Please remember the conversation about the appliances. We aren’t ready!
I promise the next time I write about this kitchen I will reveal how the cabinets turned out after I sanded them down and refinished them.
Am I happy with how things turned out given what we are working with and how little we wanted to spend on this project? Yes.
It’s not my dream kitchen by any stretch of anyone’s imagination and it’s not the kitchen this house needs, but my soul doesn’t shrivel up every time I step into this space.
That’s my new standard for kitchen design, apparently.
Anyone else take their sweet time with home projects? I can’t be the only one. Although, I might get more done if I didn’t enjoy reading blog posts so much! Like these…




2 Comments
Diane
You’re hilarious :). I have a soul-shriveling dining room and kitchen at the moment, full of wallpaper that’s half-up and half-down (and has been for months). I’m getting used to it. Or my soul is actually dead and I just don’t care anymore. So I admire your stick-to-itiveness. Also your painting skills. Love the wainscoting. I would have painted that stuff in a heartbeat. Though I expect I also would have lived with the first color for, you know, ever, since I’m lazy and dead inside.
I really love your posts. Maybe one day I’ll be like you and actually get to doing what needs to be done. You’re giving me inspiration. Or guilt. Either/or.
annisa
LOL! Your soul definitely can’t be dead…it’s too stinking funny! I just spit out my LaCroix! And I wouldn’t go hog wild trying to be like me…it leaves less time for blog reading. 😉