
DIY Embroidered Vote T-Shirt
Let’s get to a DIY today that involves two important things: embroidery and civic responsibility. Okay, one of those might be more important than the other. I’ll let you decide which is which. Now, let’s make a DIY embroidered vote t-shirt!
Even if you’ve never picked up a needle and a thread, you can embroider a t-shirt.
Here are the supplies you’ll need to make a DIY Embroidered Vote T-Shirt:
t-shirt (if you aren’t sure how this will go, pick an old one you can practice on)
needle (I used a regular sewing needle with a large eye)
embroidery floss (you might hear it called embroidery thread)
embroidery hoop (if you don’t want to buy one, someone you know definitely has one you can borrow)
water-soluble stabilizer (not absolutely required, but definitely recommended)
scissors
stencil of some sort (I made mine from label paper. You could free-hand your letters.)
pen
DIY Embroidered Vote T-Shirt Step 1: Pick a shirt and gather your supplies.
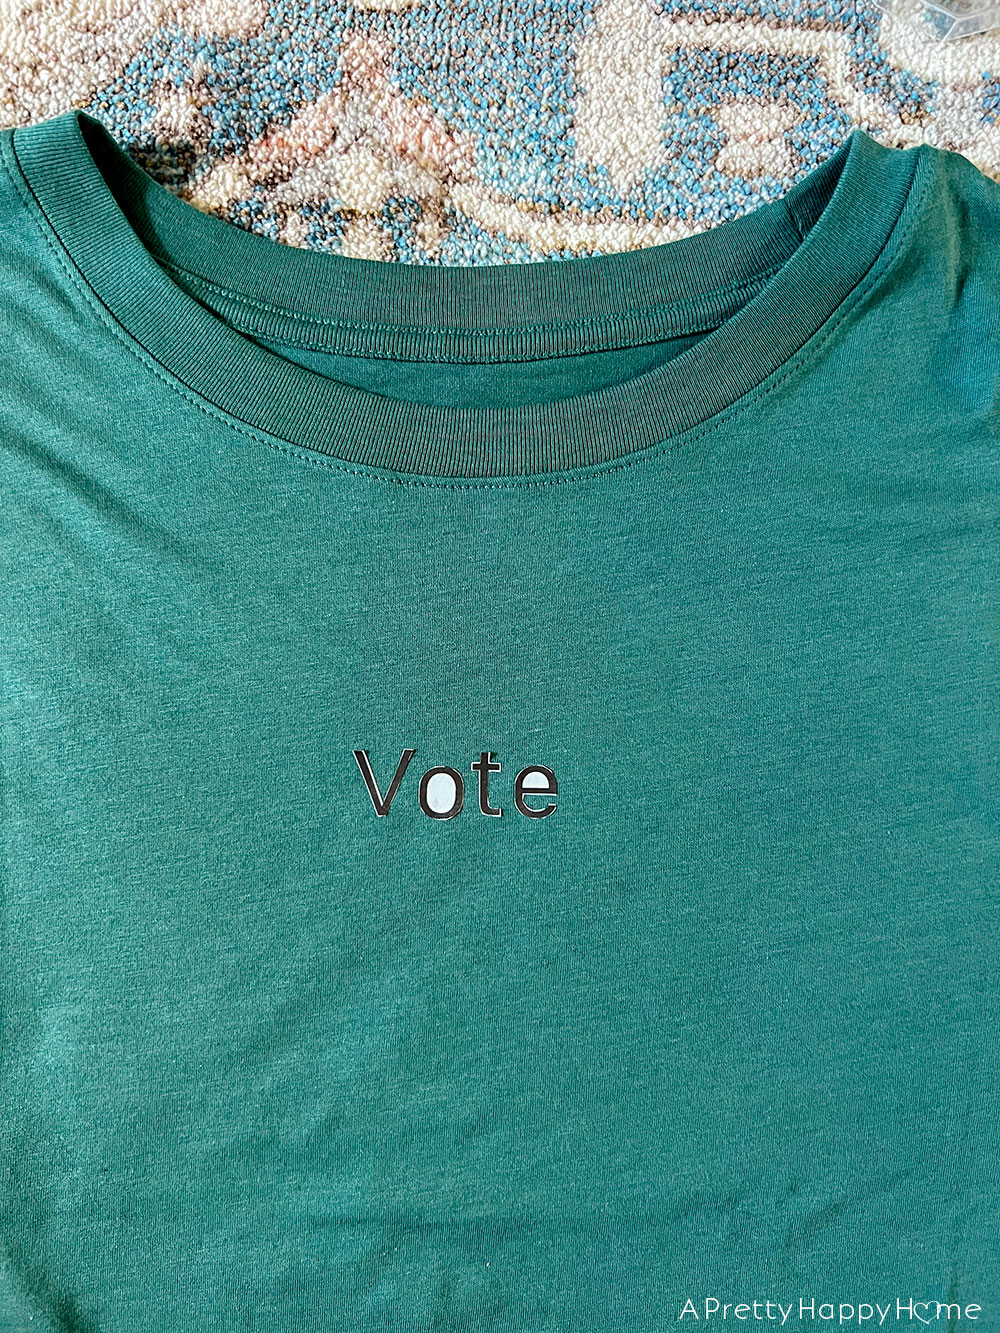
I started with a $5 t-shirt from Target in a color that made me happy. At that price, I figured if I ruined the shirt, I wouldn’t cry too much.
If this is your first time embroidering anything, then pick an old t-shirt that’s headed for the donation pile. Worst case it still ends up in the donation pile. Best case you’ve just revitalized an old t-shirt!
Pick embroidery floss in a color that you like. Embroidery floss contains six strands of embroidery thread wrapped together, which is why you often see the terms used interchangeably. I used the embroidery floss as is because I wanted a thick look to my stitches, but you can separate the strands for a thinner look.
DIY Embroidered Vote T-Shirt Step 2: Decide on font size and placement.
Lettering on t-shirts can be placed anywhere you want! Centered across the chest, right side, left side, on a sleeve, around the neck, on the back, by the hem. Place your lettering where it makes you happy.
You’ll also need to figure out which font you want to use and the size of the font. I’m still an embroidery beginner, so I selected a very simple font. I was also going for a subtler effect, so my font size is smaller.
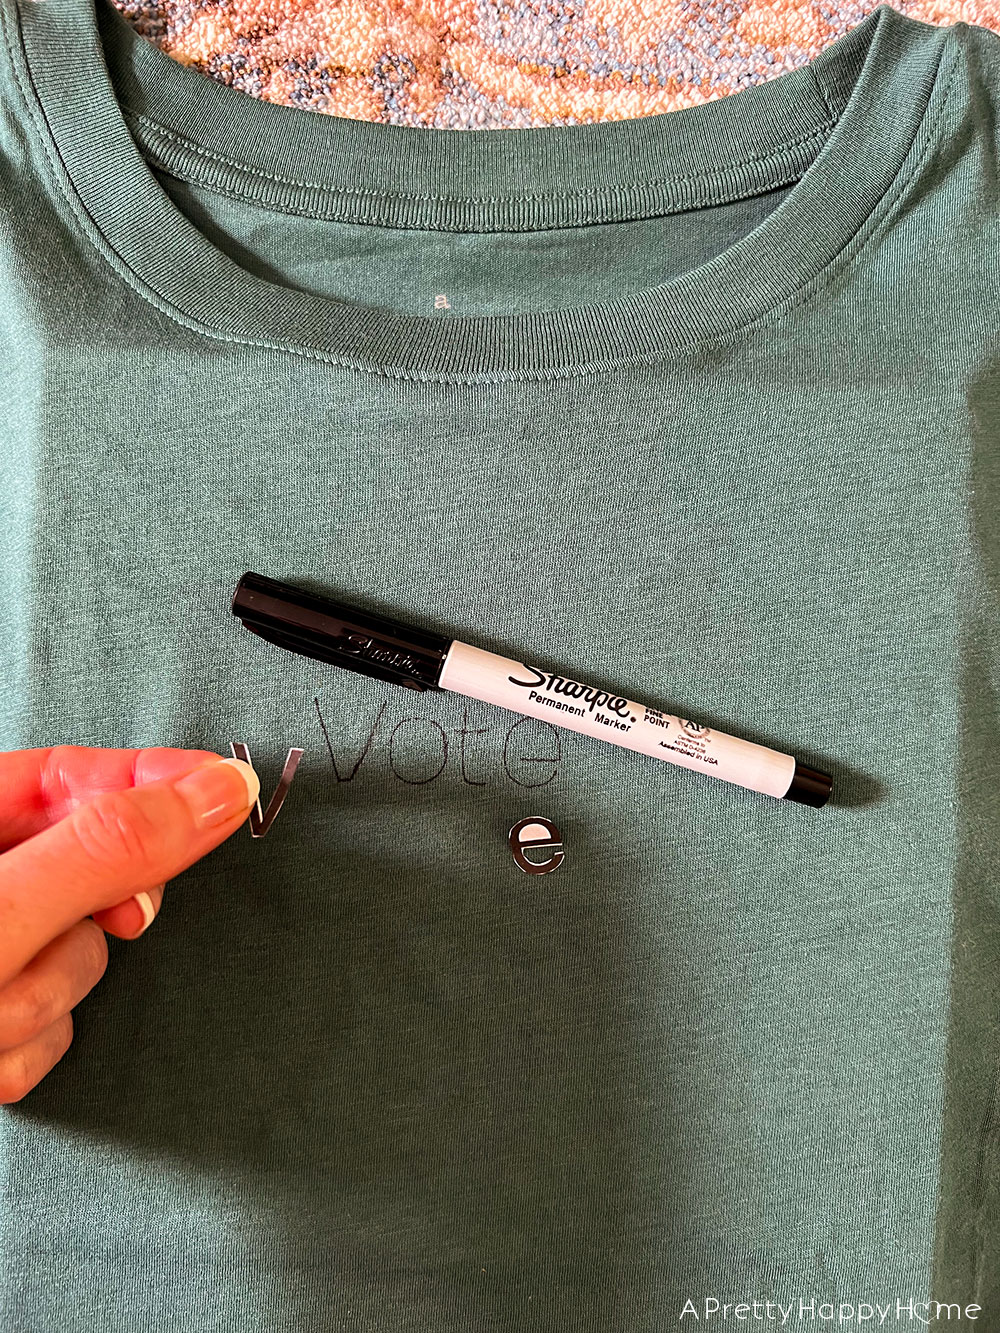
To help me decide on font size and placement, I printed my font out on label or sticker paper. Then I very carefully cut out the tiny letters. The sticky label paper meant I could move the letters around on the t-shirt until I got them positioned just so. I could also try the shirt on without the stencil moving around in order to double-check the placement.
DIY Embroidered Vote T-Shirt Step 3: Trace your font onto the shirt.
After my font was positioned in just the right place, I traced around the stencil with a thin-tipped permanent marker. These lines became my stitching guide.
I wasn’t worried about using a permanent marker on the shirt because the marks will be totally covered up by the stitches. Just make sure you put a book in between the front and back of the shirt when you do the tracing to make it easier and so that the ink doesn’t bleed through to the back of the shirt.
If you decided to skip the stenciling part of this tutorial, you could just write your letters directly on your shirt. I think a shirt embroidered in your own handwriting would be so cool. My only caution if you are using a permanent marker is you have to get it right the first time.
Alternatively, a pencil would work on a white t-shirt. You might also have some luck with a washable marker.
You could also start stitching without a guide, but I’m not good enough to attempt that yet!
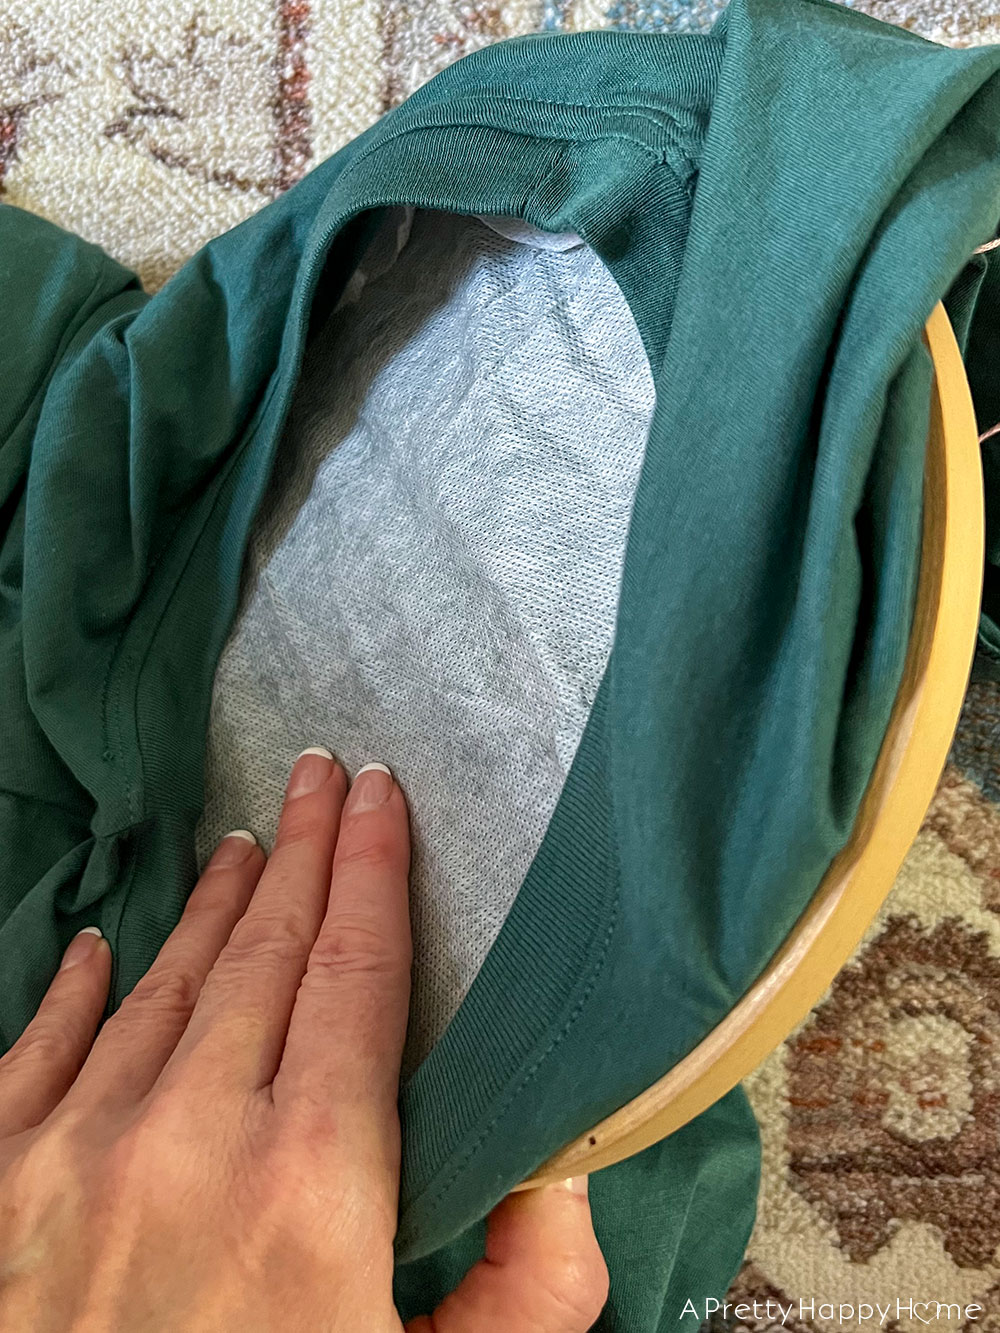
DIY Embroidered Vote T-Shirt Step 4: Secure the stabilizer.
Place a piece of water-soluble stabilizer (you could use one that’s not water-soluble) behind your t-shirt and secure both pieces of fabric inside an embroidery hoop.
The world will not end if you don’t use a stabilizer on this DIY. It’s the white mesh fabric you see below.
I can understand why you might not want to go to the extra expense. However, its sole purpose is to help you out by stiffening up the fabric while you are stitching. Again, you could practice on an old t-shirt first to see if it works well enough without using a stabilizer.
A water-soluble stabilizer can be used as a backer or a topper for an embroidery project. In other words, it can go behind the fabric you are stitching on or on top of the fabric you are stitching on.
When you are completely done with your embroidery, you will need to trim the excess water-soluble stabilizer away and then run it under some water. Like magic, it will completely dissolve just leaving your stitches behind.
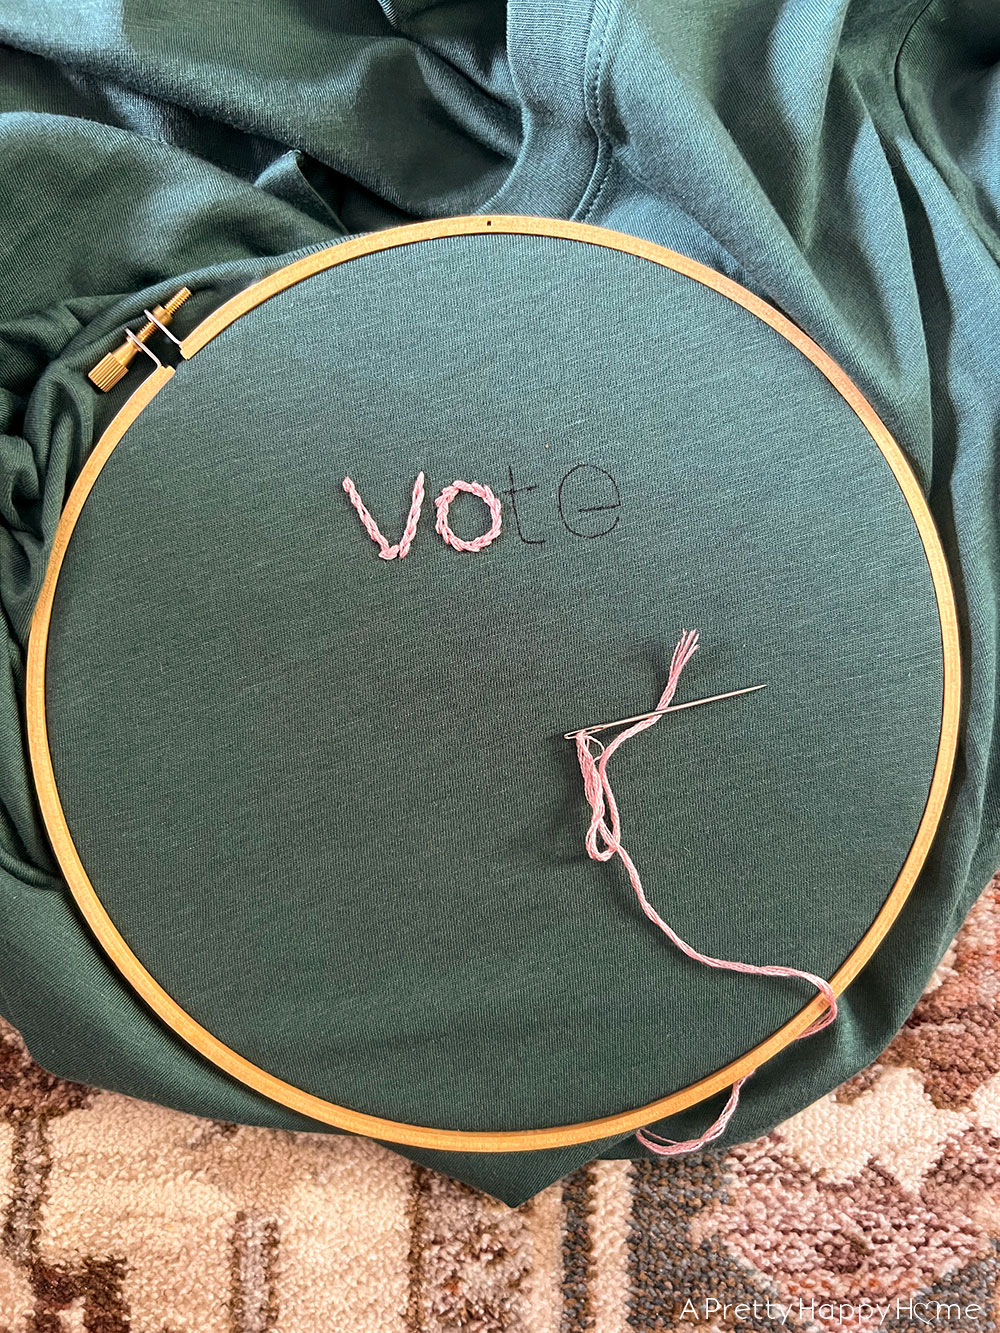
DIY Embroidered Vote T-Shirt Step 5: Start stitching.
Your t-shirt and stabilizer are secured in an embroidery hoop. Now comes the fun part – stitching!
I used a split stitch to embroider my vote t-shirt. However, there are different types of embroidery stitches that work great for outlining letters or following a curve.
This article from Gathered will be helpful if you want help deciding which type of stitch to use, and how to make that stitch. They have pictures with step-by-step directions!
Because I used a font where the letters did not connect, I tied off my thread after each letter in an attempt to keep it a little less messy on the backside. I don’t know that you have to do that though.
DIY Embroidered Vote T-Shirt Step 6: Wear your new shirt!
It took longer to select a font and position it on the shirt than it did for me to actually stitch the vote letters out. Isn’t that how it always goes? Ha!
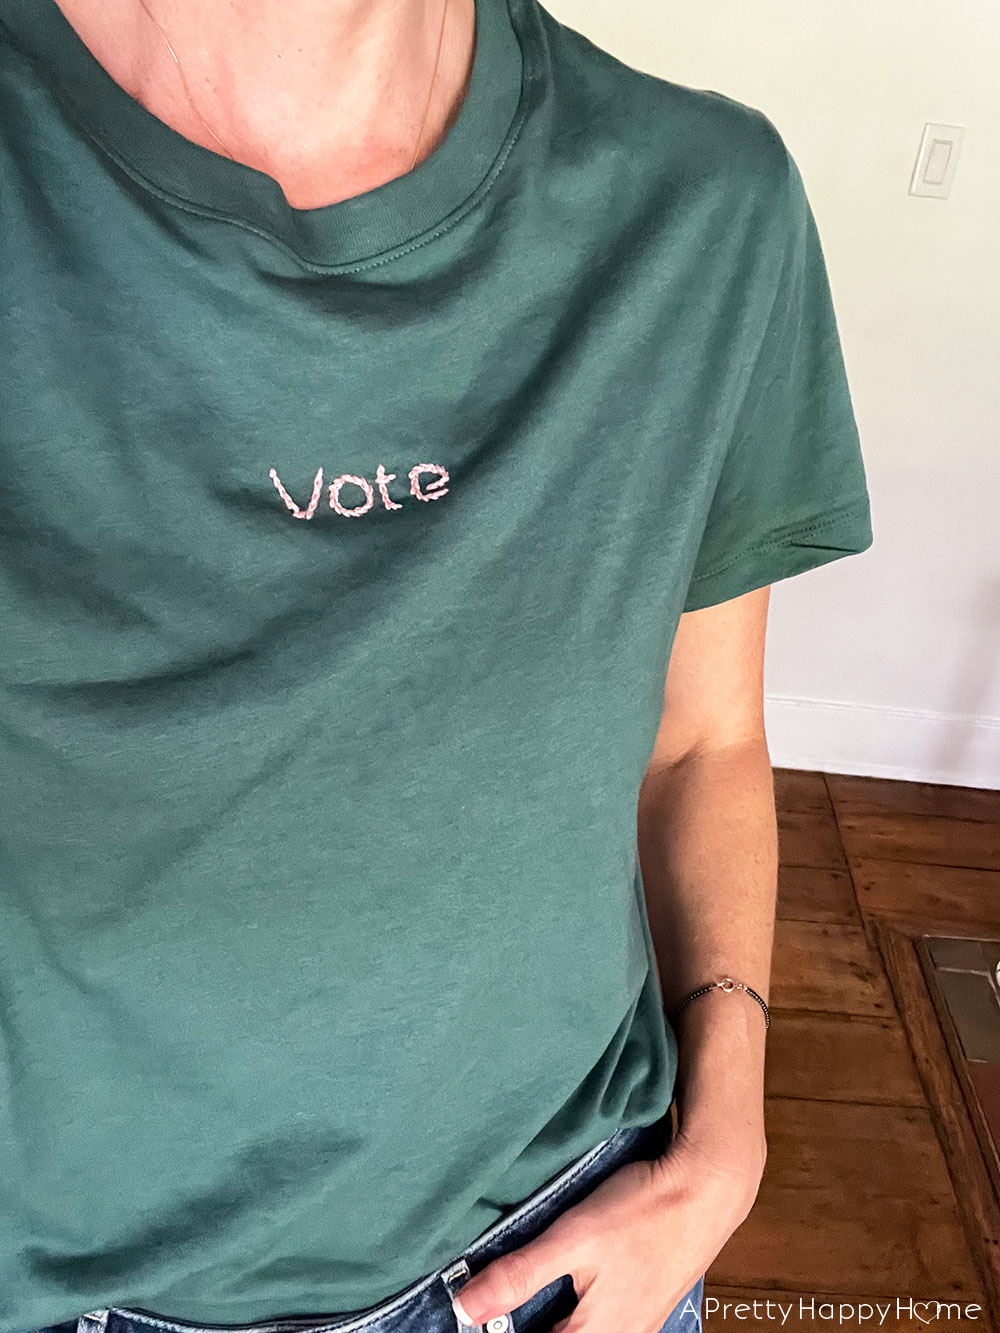
Remember that you’ll need to wash away your water-soluble stabilizer when you are done making your stitches. Or you can jump ahead with excitement as I did and try on your new DIY embroidered vote t-shirt right away!
Isn’t it great?
What I love about a project like this is it can be customized in countless different ways.
No two t-shirts will look the same, but I’m sure they will all look fabulous.
Happy stitching!
P.S. If you’ve never voted now is the perfect time to start! If you aren’t sure if you’re registered to vote, want to register for the first time, or want to receive your ballot by mail, you can do all of that at Vote.gov or Vote.org.
I double-checked my voter registration and it took 30 seconds! I also love voting by mail.
How do you feel about embroidery? Ever tried it? Have some tips for me? I’d love to hear about it. You can always comment on this blog post (I have to approve it first before it appears), email me here, or reach out via Instagram or Facebook.
Thanks for being here today! I love sharing ideas with you. Here are some other blogs posts you might enjoy.
Easter Egg Embroidered Napkins (maybe I should do a Thanksgiving-themed napkin!)
Jeans Embellished With Embroidery Thread
No-Sew Way to Repair a T-Shirt Hole
*affiliate links in this blog post*


